Study of Improvement of Measurement Precision for Roundness Measuring Instrument

Article Preview

Abstract:

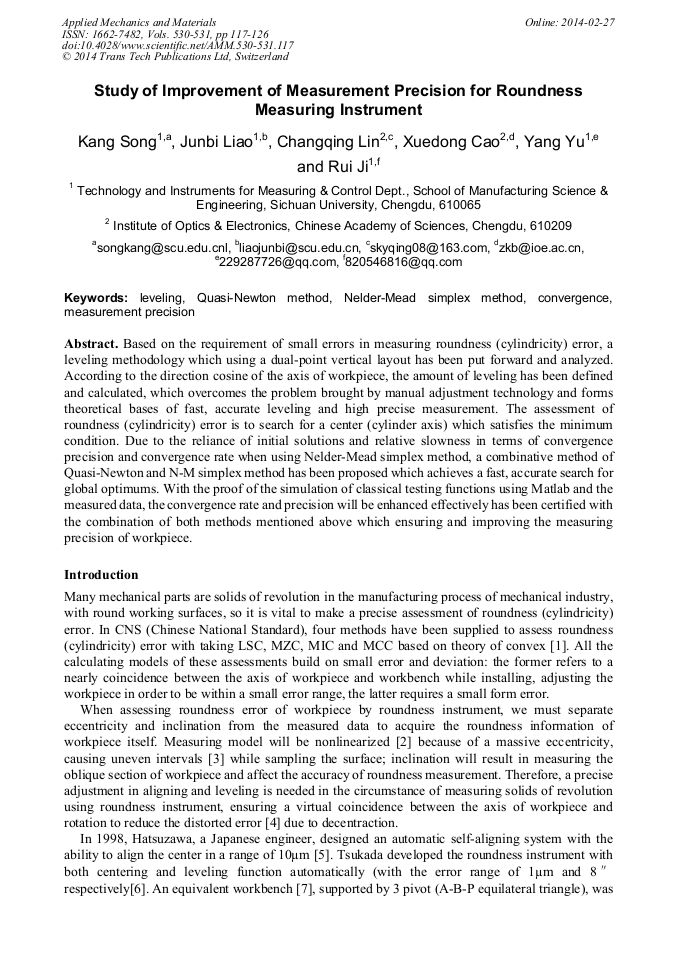
Based on the requirement of small errors in measuring roundness (cylindricity) error, a leveling methodology which using a dual-point vertical layout has been put forward and analyzed. According to the direction cosine of the axis of workpiece, the amount of leveling has been defined and calculated, which overcomes the problem brought by manual adjustment technology and forms theoretical bases of fast, accurate leveling and high precise measurement. The assessment of roundness (cylindricity) error is to search for a center (cylinder axis) which satisfies the minimum condition. Due to the reliance of initial solutions and relative slowness in terms of convergence precision and convergence rate when using Nelder-Mead simplex method, a combinative method of Quasi-Newton and N-M simplex method has been proposed which achieves a fast, accurate search for global optimums. With the proof of the simulation of classical testing functions using Matlab and the measured data, the convergence rate and precision will be enhanced effectively has been certified with the combination of both methods mentioned above which ensuring and improving the measuring precision of workpiece.

You might also be interested in these eBooks

Info:

Periodical:

Pages:

117-126

Citation:

Online since:

February 2014

Export:

Price:

Permissions CCC:

Permissions PLS:

Сopyright:

© 2014 Trans Tech Publications Ltd. All Rights Reserved

Share:

Citation:

* - Corresponding Author

[1] Youlun Xiong: Journal of Huazhong College of Technology Vol. 13(5) (1985), 117-124. (In Chinese).

Google Scholar

[2] D. G. Chetwynd: Precision Engineering Vol. 1(3) (1979), 137-141.

Google Scholar

[3] Qiancheng Zhao: Modeling and identification of contour features and its application, Hefei: Dissertation for Doctor degree of HeFei University of Technology (2004), 41. (In Chinese).

Google Scholar

[4] Chengjie Yuan: Research on intelligent roundness tester, Chengdu: Dissertation for Master degree of Engineering of Sichuan University (2004), 4. (In Chinese).

Google Scholar

[5] T. Hatsuzawa: Precision Engineering Vol. 10(1) (1988), 19-23.

Google Scholar

[6] T. Tsukada, T. Kanada and S. Liu: Precision Engineering Vol. 10(1) (1988), 13-18.

Google Scholar

[7] A. B. Barnaby, M.W. Mills and H. R. Lane: Metrological apparatus work-piece position controller-automatically centers and levels by computer using surface sensed data from transducer with transverse compensation after tilting, EP240150-A2, (1987).

Google Scholar

[8] Dongsheng Li, Weijie Wang and Jiubin Tan: Journal of Astronautic Metrology and Measurement Vol. 13(3) (1999), 35-38. (In Chinese).

Google Scholar

[9] Zhujun Ai, Qiaoyun Liu, Hongtao Wang, Yaoxin Zhou, Wei Fang andYabin Shi: Cryogenics and Superconductivity Vol. 36(2) (2008), 63-64. (In Chinese).

Google Scholar

[10] Tieyi Miu and Yihua Xiao: Machine Tools Vol. 12 (1984), 31-33. (In Chinese).

Google Scholar

[11] Xiaohui Ding: Research on filtering and adjustment of centering and tilting technologies in precision measurement of cylindrical profile, Harbin: Dissertation for the master degree in engineering of Harbin Institute of Technology (2010).

Google Scholar

[12] Yaxiang Yuan: Computational methods for nonlinear optimization, Beijing: Science Press (2008), 124. (In Chinese).

Google Scholar

[13] Li Xiang and Peiliang Gu: Control and Decision Vol. 17(1) (2002), 19-23. (In Chinese).

Google Scholar

[14] Naiyang Deng, Yi Xue and Haibin Zhang: Journal of Beijing Polytechnic University Vol. 25(4) (1999), 6-12. (In Chinese).

Google Scholar

[15] Feng Ye, Zhijiang Shao, Ximing Liang and Jixin Qian: Mathematics in Practice and Theory Vol. 34(5) (2004), 108-112. (In Chinese).

Google Scholar

[16] Guoguang Liu: Journal of Engineering Design Vol. 12(4) (2005), 236-239. (In Chinese).

Google Scholar

[17] Hui Guo, Dajun Lin, Jiazhen Pan and Shouwei Jiang: Journal of Engineering Graphics Vol. 4 (2008), 48-53. (In Chinese).

Google Scholar