p.349
p.357
p.364
p.372
p.378
p.385
p.392
p.399
p.405
Methodology of Geometry Testing and Measuring of Machine Tool Components Having Big Dimensions and their Verification Using the FEM Method
Abstract:
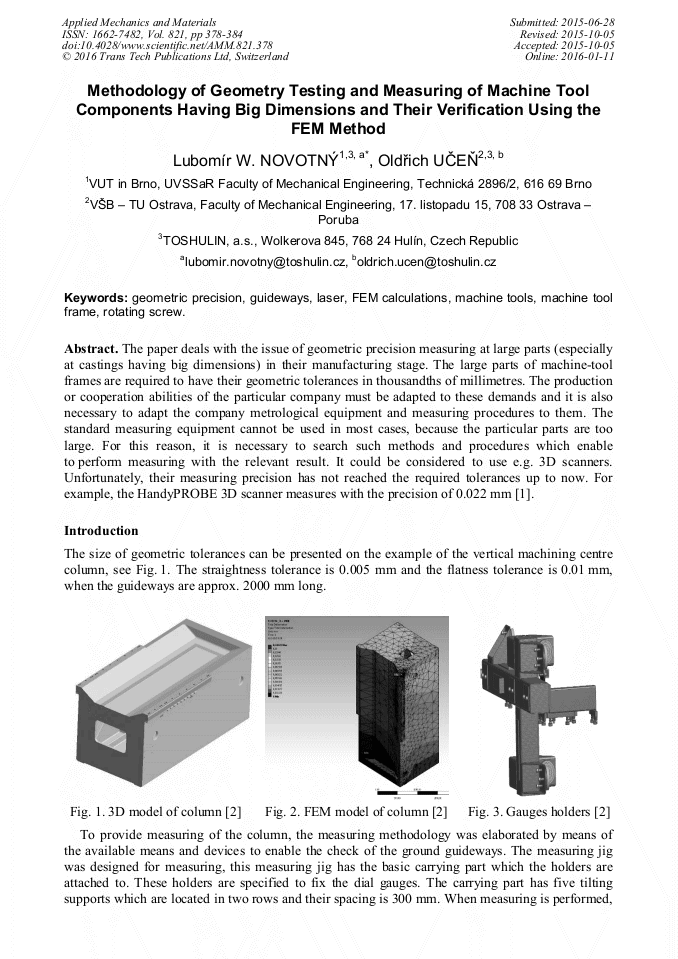
The paper deals with the issue of geometric precision measuring at large parts (especially at castings having big dimensions) in their manufacturing stage. The large parts of machinetool frames are required to have their geometric tolerances in thousandths of millimetres. The production or cooperation abilities of the particular company must be adapted to these demands and it is also necessary to adapt the company metrological equipment and measuring procedures to them. The standard measuring equipment cannot be used in most cases, because the particular parts are too large. For this reason, it is necessary to search such methods and procedures which enable to perform measuring with the relevant result. It could be considered to use e. g. 3D scanners. Unfortunately, their measuring precision has not reached the required tolerances up to now. For example, the HandyPROBE 3D scanner measures with the precision of 0,022 mm [1].
Info:
Periodical:
Pages:
378-384
DOI:
Citation:
Online since:
January 2016
Authors:
Price:
Сopyright:
© 2016 Trans Tech Publications Ltd. All Rights Reserved
Share:
Citation:


