Geometric Error Identification of a Three-Axis Machining Center

Article Preview

Abstract:

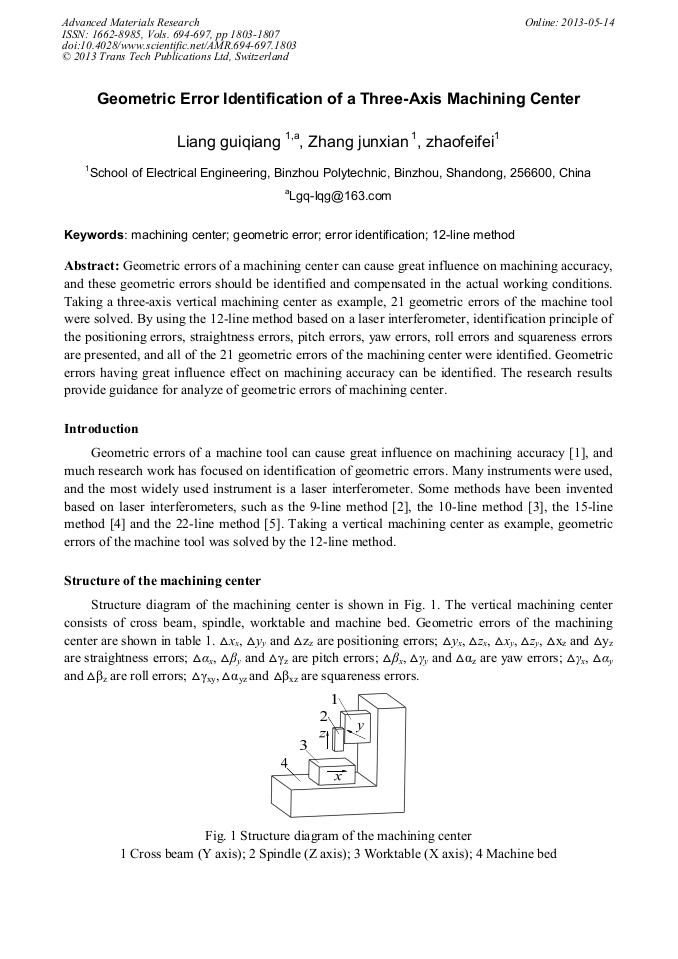
Geometric errors of a machining center can cause great influence on machining accuracy, and these geometric errors should be identified and compensated in the actual working conditions. Taking a three-axis vertical machining center as example, 21 geometric errors of the machine tool were solved. By using the 12-line method based on a laser interferometer, identification principle of the positioning errors, straightness errors, pitch errors, yaw errors, roll errors and squareness errors are presented, and all of the 21 geometric errors of the machining center were identified. Geometric errors having great influence effect on machining accuracy can be identified. The research results provide guidance for analyze of geometric errors of machining center.

You might also be interested in these eBooks

Info:

Periodical:

Advanced Materials Research (Volumes 694-697)

Pages:

1803-1807

Citation:

Online since:

May 2013

Export:

Price:

Permissions CCC:

Permissions PLS:

Сopyright:

© 2013 Trans Tech Publications Ltd. All Rights Reserved

Share:

Citation:

[1] Tang Kaiyong. The abrasion of the slideway of the machine tool and its influence on the precision of the machine tool. Mechanical Reasarch & Application, 2006, 19(5):12-14. (In Chinese)

Google Scholar

[2] LI Huanling, WU Hongtao. Error parameter identification for 3-axis NC machine tools [J]. Machinery, 2008, 46(4): 5–7. (in Chinese)

Google Scholar

[3] QU Zhiyong, CHEN Weishan, YAO Yu. Research on volumetric error identification of guide [J]. Chinese Journal of Mechanical Engineering, 2006, 42(4): 201–205. (in Chinese)

DOI: 10.3901/jme.2006.04.201

Google Scholar

[4] CHEN G Q, YUAN J X, NI J. A displacement measurement approach for machine geometric error assessment [J]. International Journal of Machine Tools & Manufacture, 2001, 41(1): 149–161.

DOI: 10.1016/s0890-6955(00)00049-3

Google Scholar

[5] ZHAGN G, OUYANG R, LU B, HOCKEN R, VEALE R, DONMEZ A. A displacement method for machine geometry calibration [J]. CIRP Annals - Manufacturing Technology, 1988, 37(1): 515–518.

DOI: 10.1016/s0007-8506(07)61690-4

Google Scholar