p.446
p.450
p.454
p.458
p.462
p.466
p.470
p.474
p.479
A Practical Algorithm for Compensating the Whole-Error of On-Machine Measurement
Abstract:
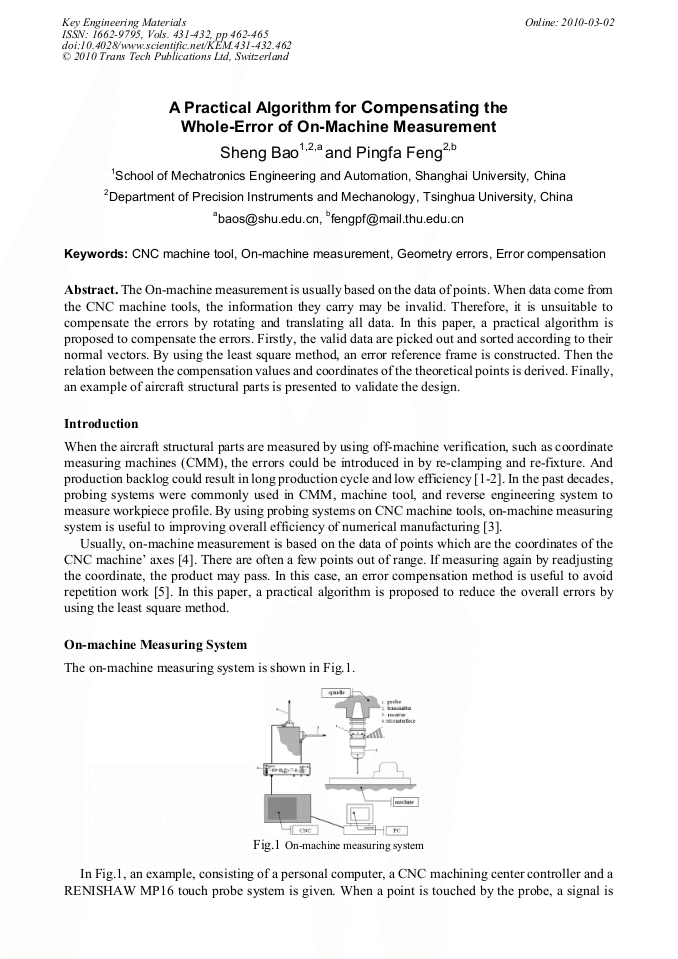
The On-machine measurement is usually based on the data of points. When data come from the CNC machine tools, the information they carry may be invalid. Therefore, it is unsuitable to compensate the errors by rotating and translating all data. In this paper, a practical algorithm is proposed to compensate the errors. Firstly, the valid data are picked out and sorted according to their normal vectors. By using the least square method, an error reference frame is constructed. Then the relation between the compensation values and coordinates of the theoretical points is derived. Finally, an example of aircraft structural parts is presented to validate the design.
Info:
Periodical:
Pages:
462-465
Citation:
Online since:
March 2010
Authors:
Price:
Сopyright:
© 2010 Trans Tech Publications Ltd. All Rights Reserved
Share:
Citation:


