Advances on NDT Methods and Technologies for Early Stage Diagnosis of Materials

Article Preview

Abstract:

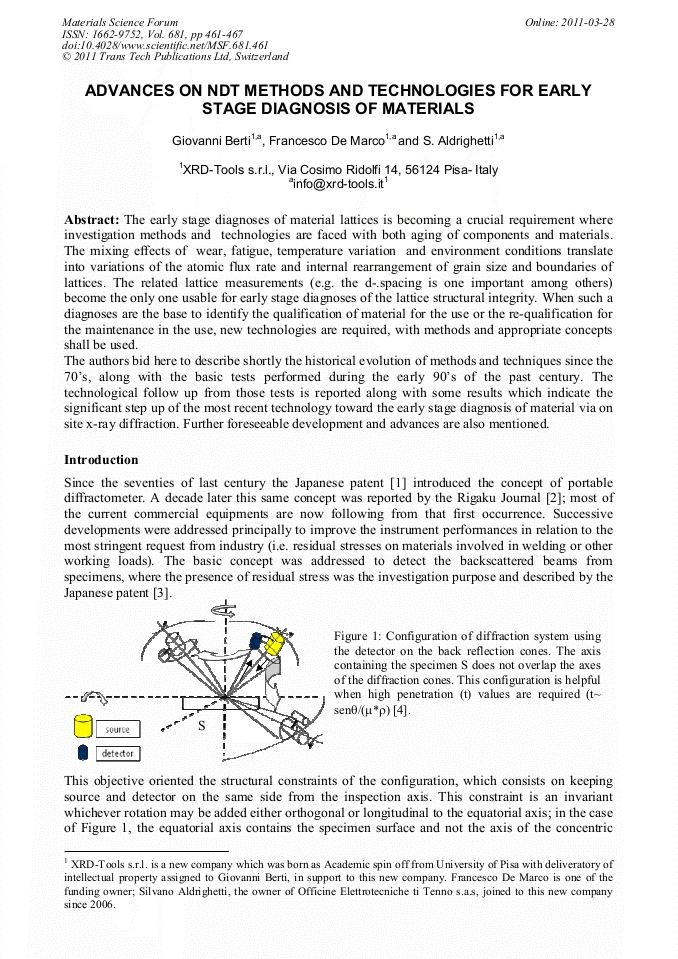
The early stage diagnoses of material lattices is becoming a crucial requirement where investigation methods and technologies are faced with both aging of components and materials. The mixing effects of wear, fatigue, temperature variation and environment conditions translate into variations of the atomic flux rate and internal rearrangement of grain size and boundaries of lattices. The related lattice measurements (e.g. the d-.spacing is one important among others) become the only one usable for early stage diagnoses of the lattice structural integrity. When such a diagnoses are the base to identify the qualification of material for the use or the re-qualification for the maintenance in the use, new technologies are required, with methods and appropriate concepts shall be used. The authors bid here to describe shortly the historical evolution of methods and techniques since the 70’s, along with the basic tests performed during the early 90’s of the past century. The technological follow up from those tests is reported along with some results which indicate the significant step up of the most recent technology toward the early stage diagnosis of material via on site x-ray diffraction. Further foreseeable development and advances are also mentioned.

You might also be interested in these eBooks

Info:

Periodical:

Pages:

461-467

Citation:

Online since:

March 2011

Export:

Price:

Permissions CCC:

Permissions PLS:

Сopyright:

© 2011 Trans Tech Publications Ltd. All Rights Reserved

Share:

Citation:

[1] Masato Nagao, X-ray stress detection apparatus, JP-S51-16984A.

Google Scholar

[2] - Automatic x-ray stress analyzer "strainflex" series MSF-2M, PSF-2M, Rigaku Journal Vol. 1/ No. /(1984).

Google Scholar

[3] Yasutsugu Kawabe, X-ray diffractometer, JP-S55-88148U.

Google Scholar

[4] - EN 13925-2 Non destructive testing – X-Ray diffraction from polycrystalline and amorphous materials – Part 2: Procedures, CEN - Paris, (2005).

DOI: 10.3403/02774935

Google Scholar

[5] G. Berti, Misure di tensioni residue mediante XRPD Application n 8/159/er.

Google Scholar

[6] G. Berti, XRPD measurements on a Ti6Al4V spherical thank registration of unpublished n. 980081.

Google Scholar

[7] G. Berti, C. Gini, S. Ottaviano, M. Vaccari, Collection strategy of XRPD data from the welded junction of a spherical thank for residual stress investigations EPDIC 7 – Barcelona 2000 PA16, p.38.

Google Scholar

[8] G. Berti, S. Aldrighetti, A new movable diffractometere for industrial application of NDT-XRD for in field measurements LI Annual DXC, Colorado Spring 2002, D086, p.195.

Google Scholar

[9] G. Berti, Diffractometer and method for diffarction analisys, IT0001338588, WO 03/060498 A1 and following National Grants.

Google Scholar

[10] G. Berti, Variable Centre Diffractometer IT0001362652, WO2006/082187 and following national grants.

Google Scholar

[11] G. Berti, Mobile apparatus for irradiatiation and radiation detection IT0001362296, WO2006/136542 and following National Grants.

Google Scholar

[12] - ISO/CEN/TS21432, Non Destructive Testing - Determination of Residual Stress by Neutron Diffraction, CEN (2007).

Google Scholar

[13] G. Berti (2005),. At distance controlled diffractometer for XRD measurements in field. In: Otpics and Photonics. San Diego Coulter, vol. 5906, pp.311-325.

Google Scholar

[14] - EN 15305, Non-Destructive Testing – Test Method for Residual Stress analysis by X-ray Diffraction, CEN : (2008).

Google Scholar

[15] G. Berti, F. De Marco, D. Pinciroli, Efficacia ispettiva e solidità della metodica XRD in loco, per il rilevamento di potenziali fenomeni a creep, SAFAP 2010 Sicurezza ed affidabilità delle attrezzature a pressione, pp.146-153.

Google Scholar

[16] D. Richardot, J. C. Vaillant, A. Arbab, W. Bendick, The T92/P92 Book, Vallourec & Mannessmann Tubes (2000).

Google Scholar