p.690
p.696
p.701
p.707
p.713
p.719
p.726
p.732
p.738
The Development of the Automatic Measurement of Straightness Using by a Ball Screw
Abstract:
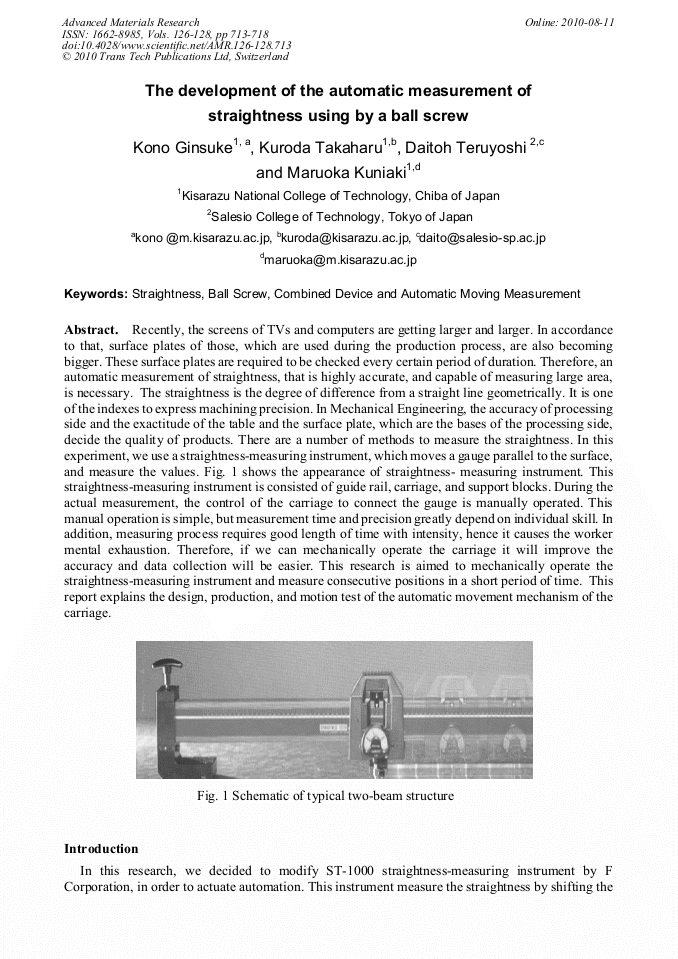
Recently, the screens of TVs and computers are getting larger and larger. In accordance to that, surface plates of those, which are used during the production process, are also becoming bigger. These surface plates are required to be checked every certain period of duration. Therefore, an automatic measurement of straightness, that is highly accurate, and capable of measuring large area, is necessary. The straightness is the degree of difference from a straight line geometrically. It is one of the indexes to express machining precision. In Mechanical Engineering, the accuracy of processing side and the exactitude of the table and the surface plate, which are the bases of the processing side, decide the quality of products. There are a number of methods to measure the straightness. In this experiment, we use a straightness-measuring instrument, which moves a gauge parallel to the surface, and measure the values. Fig. 1 shows the appearance of straightness- measuring instrument. This straightness-measuring instrument is consisted of guide rail, carriage, and support blocks. During the actual measurement, the control of the carriage to connect the gauge is manually operated. This manual operation is simple, but measurement time and precision greatly depend on individual skill. In addition, measuring process requires good length of time with intensity, hence it causes the worker mental exhaustion. Therefore, if we can mechanically operate the carriage it will improve the accuracy and data collection will be easier. This research is aimed to mechanically operate the straightness-measuring instrument and measure consecutive positions in a short period of time. This report explains the design, production, and motion test of the automatic movement mechanism of the carriage.
Info:
Periodical:
Pages:
713-718
Citation:
Online since:
August 2010
Authors:
Price:
Сopyright:
© 2010 Trans Tech Publications Ltd. All Rights Reserved
Share:
Citation:


