p.1
p.5
p.11
p.17
p.23
p.29
p.35
Tool Wear Monitoring: An Automated System Based on Multiple Cutting Force Parameters and Machine Vision Technique
Abstract:
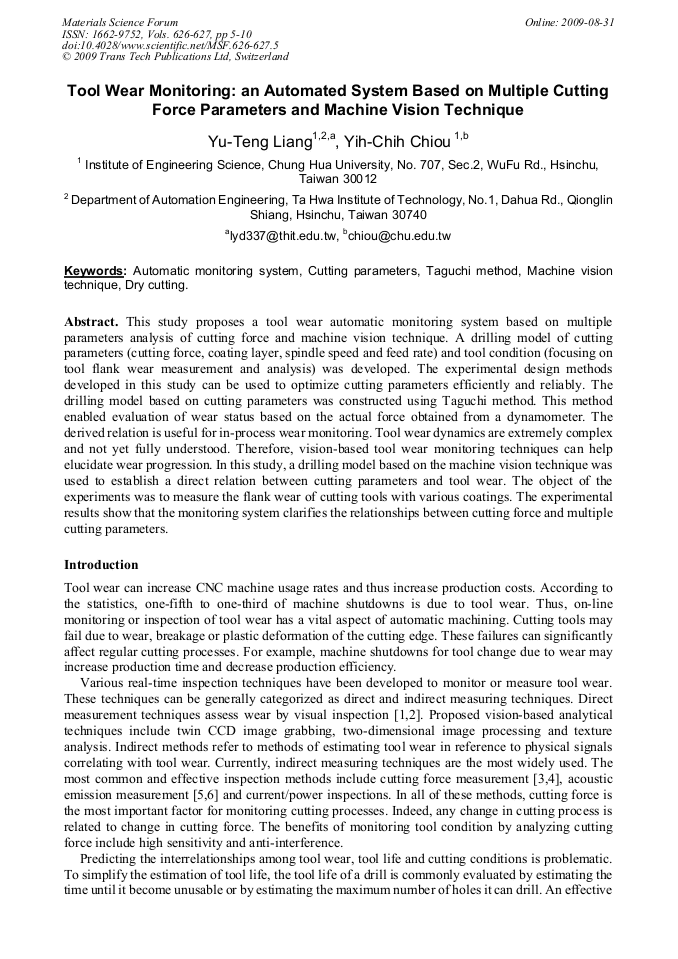
This study proposes a tool wear automatic monitoring system based on multiple parameters analysis of cutting force and machine vision technique. A drilling model of cutting parameters (cutting force, coating layer, spindle speed and feed rate) and tool condition (focusing on tool flank wear measurement and analysis) was developed. The experimental design methods developed in this study can be used to optimize cutting parameters efficiently and reliably. The drilling model based on cutting parameters was constructed using Taguchi method. This method enabled evaluation of wear status based on the actual force obtained from a dynamometer. The derived relation is useful for in-process wear monitoring. Tool wear dynamics are extremely complex and not yet fully understood. Therefore, vision-based tool wear monitoring techniques can help elucidate wear progression. In this study, a drilling model based on the machine vision technique was used to establish a direct relation between cutting parameters and tool wear. The object of the experiments was to measure the flank wear of cutting tools with various coatings. The experimental results show that the monitoring system clarifies the relationships between cutting force and multiple cutting parameters.
Info:
Periodical:
Pages:
5-10
DOI:
Citation:
Online since:
August 2009
Authors:
Price:
Сopyright:
© 2009 Trans Tech Publications Ltd. All Rights Reserved
Share:
Citation:


