Measurement of the Straightness of a Leadscrew-Driven Precision Stage

Article Preview

Abstract:

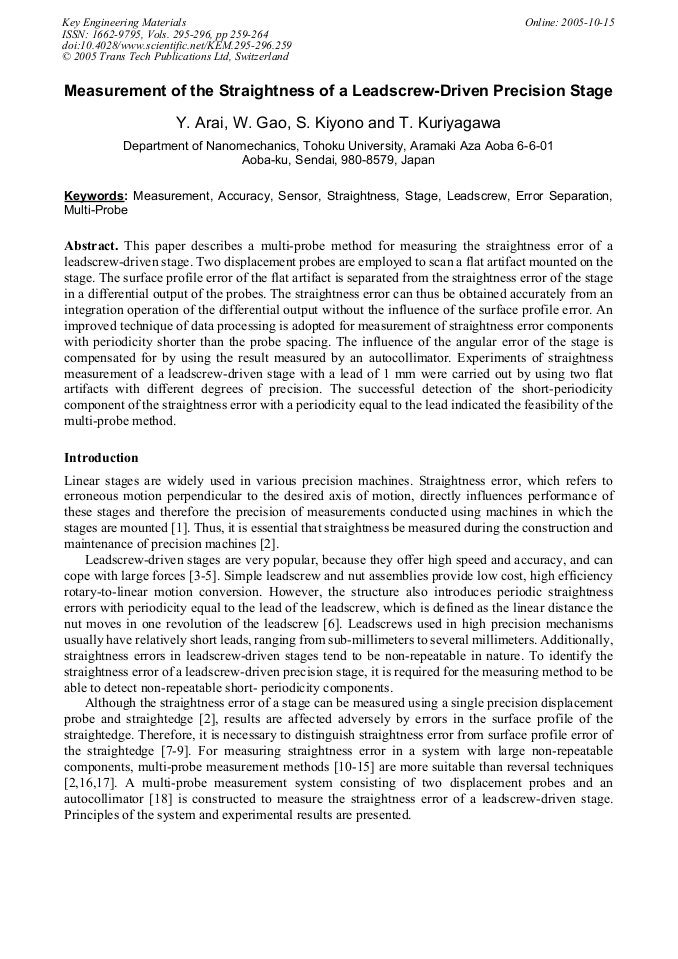
This paper describes a multi-probe method for measuring the straightness error of a leadscrew-driven stage. Two displacement probes are employed to scan a flat artifact mounted on the stage. The surface profile error of the flat artifact is separated from the straightness error of the stage in a differential output of the probes. The straightness error can thus be obtained accurately from an integration operation of the differential output without the influence of the surface profile error. An improved technique of data processing is adopted for measurement of straightness error components with periodicity shorter than the probe spacing. The influence of the angular error of the stage is compensated for by using the result measured by an autocollimator. Experiments of straightness measurement of a leadscrew-driven stage with a lead of 1 mm were carried out by using two flat artifacts with different degrees of precision. The successful detection of the short-periodicity component of the straightness error with a periodicity equal to the lead indicated the feasibility of the multi-probe method.

You might also be interested in these eBooks

Info:

Periodical:

Key Engineering Materials (Volumes 295-296)

Pages:

259-264

Citation:

Online since:

October 2005

Export:

Price:

Permissions CCC:

Permissions PLS:

Сopyright:

© 2005 Trans Tech Publications Ltd. All Rights Reserved

Share:

Citation:

[1] J.R. Walker: Machining Fundamentals (Goodheart-Willcox Company Inc., 1998).

Google Scholar

[2] W. Tyler Estler: Optical Engineering, Vol. 24 (1985), p.372.

Google Scholar

[3] S. Fukada: JSME Int. J C-Mech. SY, Vol. 42 (1999), p.1003.

Google Scholar

[4] J.C. Milne and E.D. Johnson: Microsyst Technol, Vol. 4 (1998), p.64.

Google Scholar

[5] N.G. Chalhoub and A.G. Ulsoy: J Dyn. Syst-t ASME, Vol. 108 (1986), p.119.

Google Scholar

[6] A.H. Slocum: Precision Machine Design (Prentice Hall, 1992).

Google Scholar

[7] D.J. Whitehouse: Journal of Physics E, Scientific Instruments, Vol. 9 (1976), p.531.

Google Scholar

[8] J. Chris, R. Evans, J. Hocken and W. Tyler Estler: Annals of the CIRP, Vol. 45 (1996), p.617.

Google Scholar

[9] W. Gao, S. Kiyono and T. Sugawara: Precision Engineering, Vol. 21 (1997), p.123.

Google Scholar

[10] A. Campbell: Precision Engineering, Vol. 17 (1995), p.207.

Google Scholar

[11] W. Gao, S. Kiyono and T. Nomura: Precision Engineering, Vol. 19 (1996), p.37.

Google Scholar

[12] W. Gao and S. Kiyono: JSME International Journal, Vol. 40 (1997), p.253.

Google Scholar

[13] E.H.K. Fung and S.M. Yang: Measurement, Vol. 29 (2001), p.51.

Google Scholar

[14] W. Gao, J. Yokoyama, H. Kojima and S. Kiyono: Precision Engineering, Vol. 26 (2002), p.279.

Google Scholar

[15] H. Tanaka and H. Sato: J Eng. Ind-t ASME, Vol. 108 (1986), p.176.

Google Scholar

[16] R.R. Donaldson: Annals of the CIRP, Vol. 21 (1972), p.125.

Google Scholar

[17] J. Bryan and D.L. Charter: American Machinist, Vol. 133 (1989), p.61.

Google Scholar

[18] W.R. Moore: Foundations of Mechanical Accuracy (Moore Special Tool Company, 1970).

Google Scholar

[19] S. Kiyono and W. Gao: Precision Engineering, Vol. 16 (1994), p.212.

Google Scholar

[20] W. Gao and S. Kiyono: Measurement, Vol. 19 (1996), p.55.

Google Scholar